Colourful Craft Tutorial - Brighten up an old cardigan
Posted on
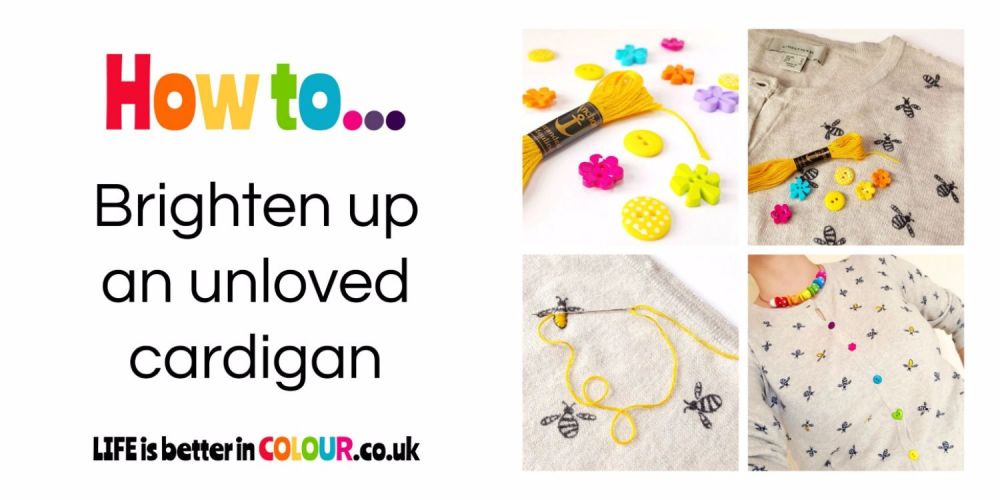
I thought I was mad planning this colourful cardigan tutorial during the hottest week of the year - but I was banking on the British weather - and knew that by the time I'd finished it would be cool enough for cardigans once more!
This crafty DIY involves adding some extra colour into an otherwise dull cardigan by swapping the buttons and adding some embroidery. So if you've got an unloved woolly languishing at the back of the wardrobe, why not let your creativity loose and make a start on this multi-coloured makeover!
Unless you're a super stitcher, if you want to add embroidery to your cardigan, it's probably best if you pick one that already has a printed pattern. If you're just going to swap the buttons - any cardigan will do - provided you can find replacement buttons in the right size!
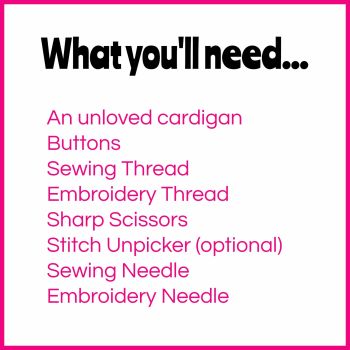
Step1 : Choose your cardigan
Find a suitable cardigan to transform. I chose a long sleeved cardigan from Primark printed with lots of honey bees. I knew the buttons were pretty standard and was sure I'd be able to find a selection of suitable replacements.
Step 2 : Cut off the old buttons
Snip off all the old buttons. Be very careful to only cut through the thread and not through the fabric of the cardigan. (This step may be easier if you have a stitch unpicker - but can also be done with sharp scissors)
Step 3 : Choose replacement buttons
If you're a crafty hoarder, raid your button tin and try to find a selection of suitable replacement buttons. If you've not got anything suitable (or if you don't have a button stash to root through) you'll need to take a trip to a haberdashery shop. Try your local market or a large department stores as the haberdashery departments will often sell single buttons. You can also buy buttons online - it is harder to find fabulous buttons sold individually, but it is possible.Try paper-and-string
TOP TIP - If you're shopping in person, take one of the original buttons with you to make sure you don't make a mistake and get the wrong size!
Step 4 : Sew on replacement buttons
Check you're happy with the placement of your buttons - and once you are, you can begin to sew them onto your cardigan. (You may be able to use the stitching holes from the previous buttons as a guide.) For this I'd recommend using a general purpose needle and thread.
TOP TIP: To add even more colour you could try using thread in a contrasting colour to your choosen buttons!
Step 5 : Add extra embroidery (Optional)
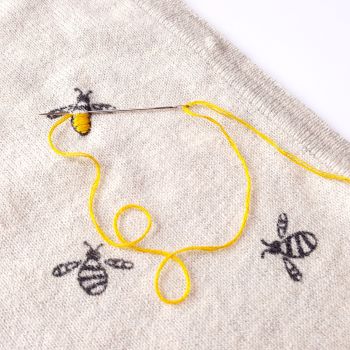
If you're feeling brave you could also add some extra embroidery... I'm no expert so I stuck to 'colouring-in' the exisiting pattern using a simple straight stitch. For this I used an embroidery needle and some embroidery thread (available from your friendly haberdasher!)
TOP TIP - Never try to sew with all six strands of the thread... the most you'll need is two or three! This handy guide from Imagine Our Life talks you through how to begin sewing with embroidery thread and there's a great tip for an alternative to starting with a knot!
Step 6 : Super smug selfie (Optional - but definitely recommended!)
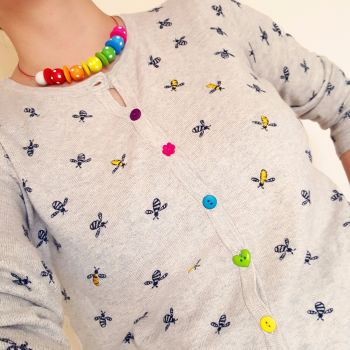
Once you've completed your project I'd definitely recommend showing off your handiwork on social media by sharing a selfie... It's definitely not indulgent, all you're doing is helping to encourage others to live a more colouful life!
I can't wait to see how many ways to liven up your cardigans you can come up with...
If you share them on social media please do tag your colourful creations with #morecolourfulcraft so I can see them!

Add a comment: