Colourful Craft Tutorial - Five Minute Makeover - Billy Bookcase
Posted on

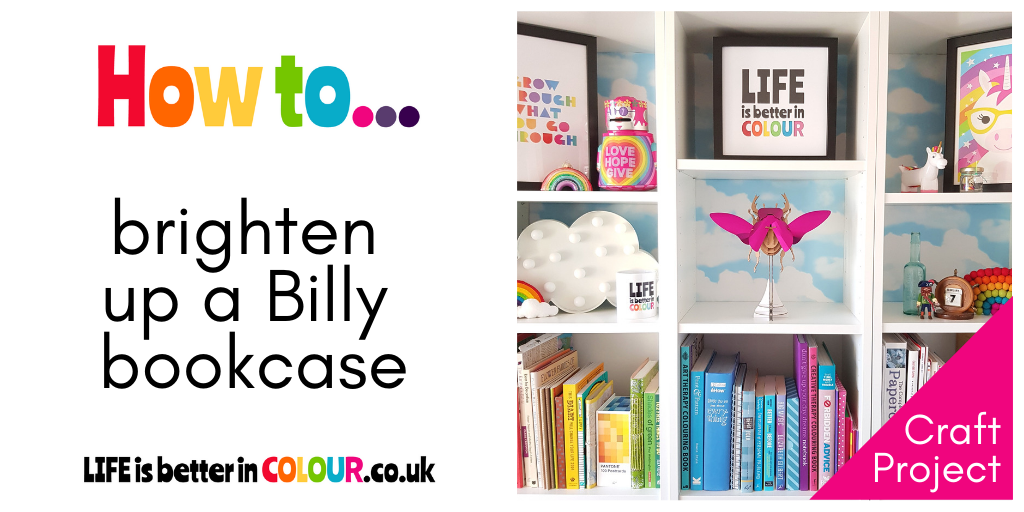
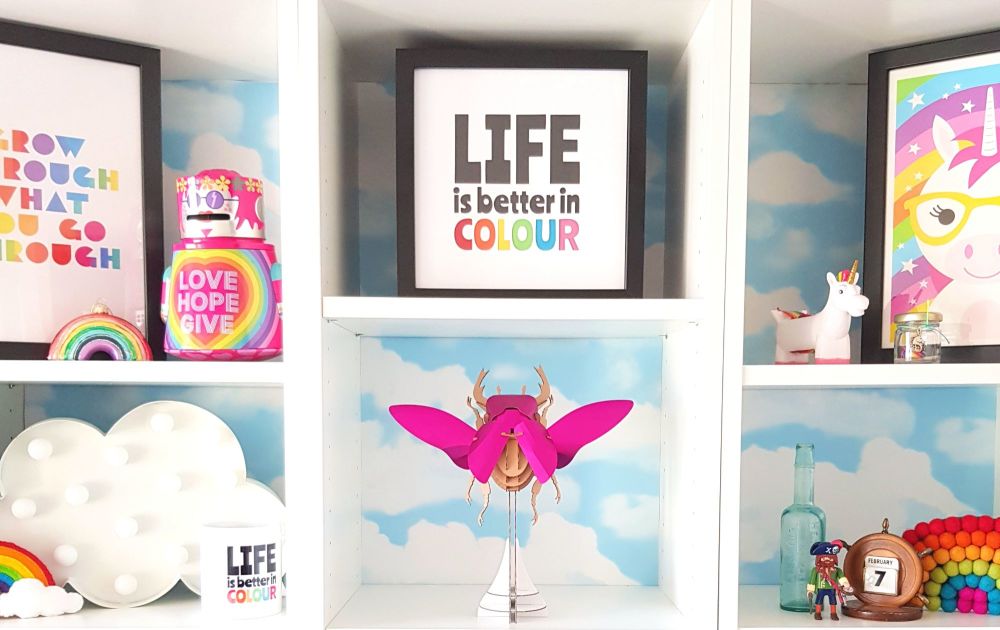
Get ready for the best shelfie ever! In today's Five Minute Makeover, I'm going to show you a super simple ikea hack - how to use leftover wallpaper to brighten up the backboard on your Billy bookcase.
It's really quick and really easy - and you don't need any special tools.
Ideally you would do your decorating before you finish assembly, but don't worry if your shelves are already in situ, this hack can be carried out even if your bookcase is already built. So let's get started!
You will need...
Wallpaper, a ruler, scissors/craft knife, blu tack/non permanent adhesive
Step1 : Choose the wallpaper that you want to use
I'm using this gorgeous Cloud Wallpaper by Fresco, sold by Graham & Brown Ltd on Amazon (affiliate link)

Step 2 : Clear the contents of your bookcase and lift out all removable shelves
TOP TIP - Before starting the next stage, unroll the wallpaper and gently roll up in the opposite direction. Allow to unroll. This should help the paper to lie flat making it easier to cut and stick in place.
Step 3 : Measure and cut the wallpaper to size. (If you are decorating before assembly the wallpaper can cover the whole backboard. If you are decorating your ready made shelves you will need to measure the width between each upright and cut the wallpaper to fit in this gap. You can use the shelf you have taken out as a guide to cutting the correct width.)
Step 4 : Apply blu-tack (or any other non permanent adhesive) generously to the top edge of the wallpaper. Add additional non permanent adhesive at strategic points along the length of the paper and along the bottom edge. Starting at the top and working your way down, press firmly into place.
Step 5 : Replace all removable shelves and enjoy your newly decorated backdrop!

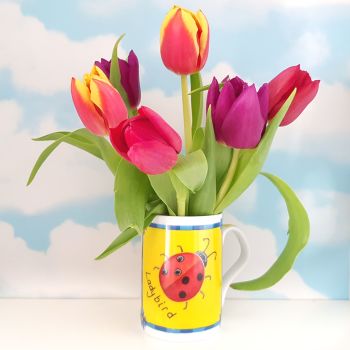
My newly decorated shelves have really brightened up the craft room and because they look so beautiful I'm doing a much better job of keeping them tidy! It's also been great to have an instant backdrop to use for instagram pics.
And one of the best things about this ikea hack is it's totally non-permanent. If you get bored or fancy something different, just change the wallpaper!
I hope you enjoyed this five minute craft tutorial. If you do get round to giving your shelves a temporary makeover using this technique please do let me know - I'd love to see how your shelves are transformed!

Disclaimer: I have not been sponsored to write this post and I paid for all the tools and materials I used. However this post does contain affiliate links. As an Amazon Associate I may earn a small commission if you use my link to click through to their website and make a purchase. It doesn't cost you anything and helps to support this website.

Add a comment: