Behind the scenes at LIFE is better in COLOUR : How to catch a rainbow
Posted on

Want to have a peek behind the scenes at LIFE is better in COLOUR? Well now's your chance!
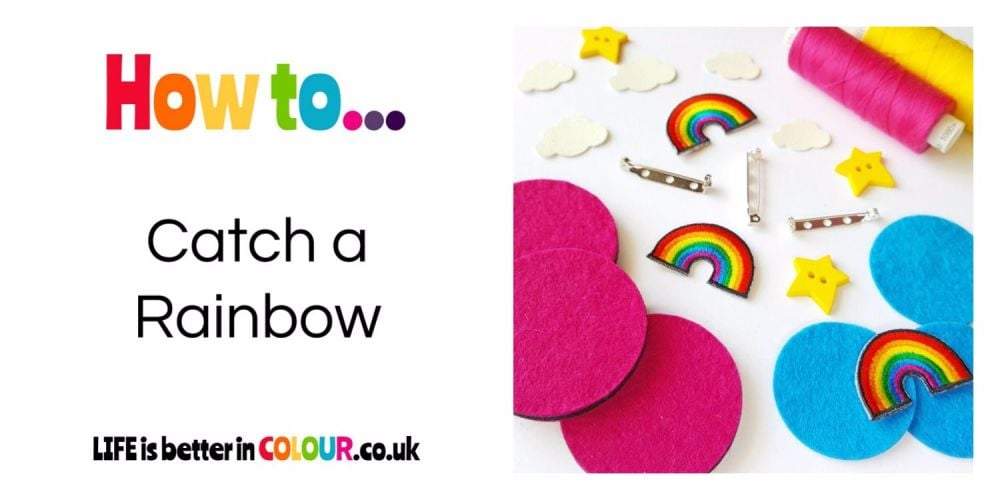
Today we're going to show you how we go about making our Shine Bright Rainbow Brooch. The final design may be simple but there are still loads of steps that go into making them look super special. Catching rainbows is not a quick job!
NB - We hope you enjoy learning more about the way we work - but please don't use these pictures to create rainbow brooches of your own. Copying simply isn't cool.

STEP 1
Gather together all your tools and materials. Rainbows don't often hang around for long so it's important that you have everything to hand. Preparation is very important! Pre-cutting all the felt shapes ensures that when those rainbows appear you are ready to go!
STEP 2
Rainbows can be pretty elusive and they like to disappear. A few discreet stitches ensure they stay in the sky - exactly where you want them. Adding a few glittery clouds and a golden yellow star creates a picture perfect setting for your colourful centrepiece.
STEP 3
Using a larger brooch pin ensures that once fastened, everything stays secure and there's no chance of your rainbow doing a runner! Attaching the brooch pin with colour coordinating thread is a classy touch that shows our attention to detail - even on the parts that aren't visible!

WHAT HAPPENS NEXT?
Once it's finished the Shine Bright Rainbow Brooch is coupled with a colourful button badge and is taken for a photoshoot before being listed in our online shop and on Etsy
After somebody buys the brooch, it will be gift boxed and gift wrapped before heading out to brighten up someone elses day.


Add a comment: